Difference between revisions of "User:Bourke/Sandbox"
| Line 117: | Line 117: | ||
===Verification of Escidoc Core-Services Installation=== | ===Verification of Escidoc Core-Services Installation=== | ||
The steps for verification are described well in the readme.html file in the installation root directory. | The steps for verification are described well in the readme.html file in the installation root directory. Essentially | ||
# Open a Command Window / Shell Window. (For Windows, type ''cmd'' and hit return in the search box). | |||
# Move to the ./jboss/bin directory ( .\jboss\bin for windows) und the Installation Directory. For example, if # you have installed in c:\pubman type cd \pubman\jboss\bin in the command window. | |||
run the run.sh (linux) or run.bat (windows) file | |||
====Step 1. Verification that the JBoss Application Server starts successfully==== | ====Step 1. Verification that the JBoss Application Server starts successfully==== | ||
Revision as of 10:22, 19 July 2011
Richard Bourke Sandbox
Pubman 628 Local Installation Setup[edit]
Purpose of Document This Document is written to give fuller information on the steps to set up a locally running Pubman 6.2.8 Server on your Local Machine, together with all the complicated software stack on which it depends. "Installation Verification Checks" at each stage are provided, and some links to further useful documentation.
Intended Audience of this Document Developers, Administrators or Archivists / Librarians with quite advanced computer skills, who wish to see for themselves what Pubman and EsciDoc may offer for benefits, and look for themselves behind the scenes at the software infrastructure involved.
Scope and dependencies of this Document This Document is written in July/August 2011 and is based on the then current tested Pubman Production and Demonstration Environment.
- Pubman Release: 6.2.8
- EsciDoc Core-Services: 1.2
- Oracle/Sun Java 6 SDK: 1.6_24
- JBoss Application Server: 4.2.2 (Later releases exist, but do not work with ESciDoc)
- Postgres: 8.3 (Later releases exist, but do not work with Pubman)
Limits of this Document Time constraints prevent the documentation of a installation instructions for all tested Pubman and Escidoc Environment. Specifically, this document only describes installation of Pubman 6.2.8 with two tested operating systems environments (Linux (Distribution: Ubuntu 10_04 Desktop 32 Bit) and Windows (Windows 7 Professional 32 Bit) and one tested Database environment (Postgres 8.3).
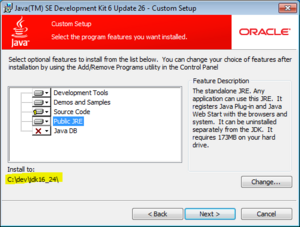
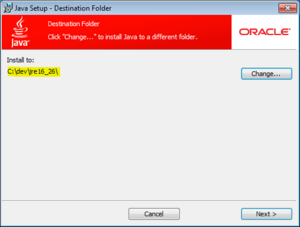
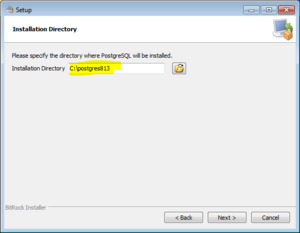
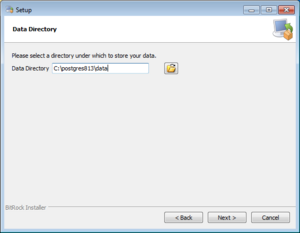
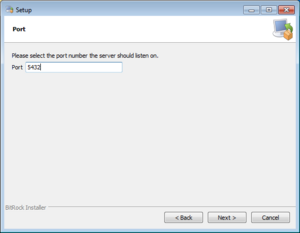
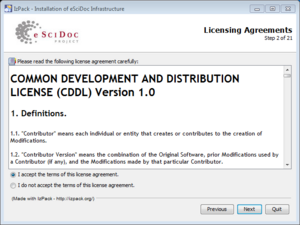
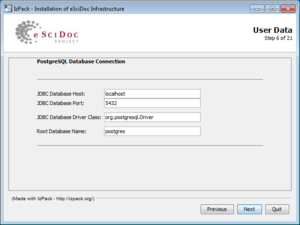
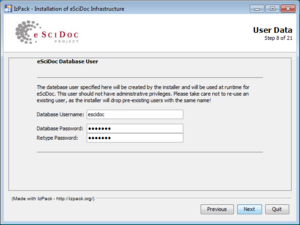
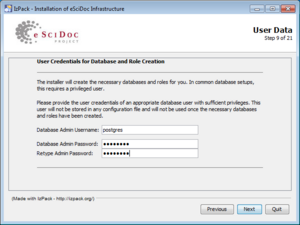
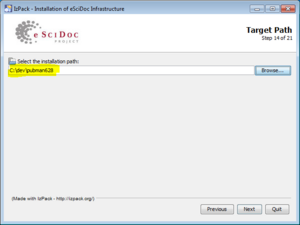
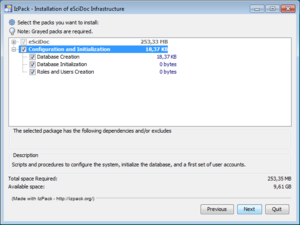
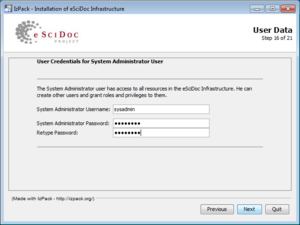
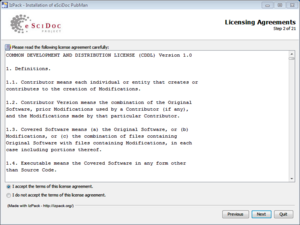
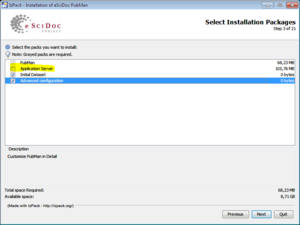
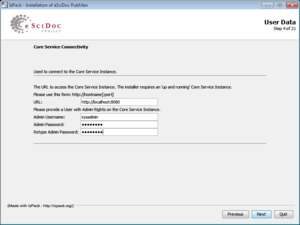
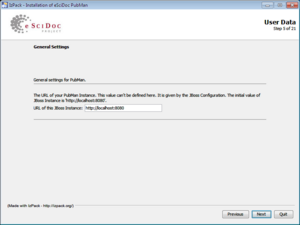
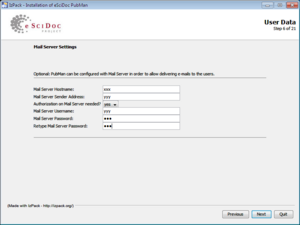
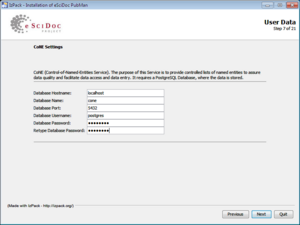
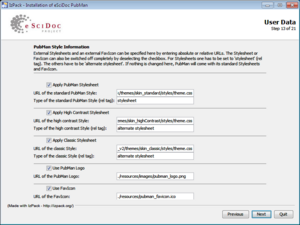
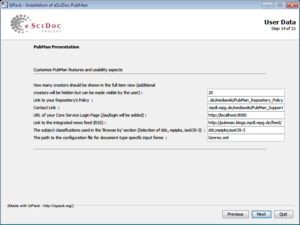
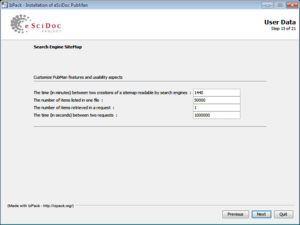
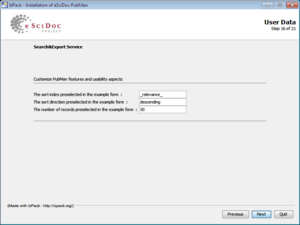
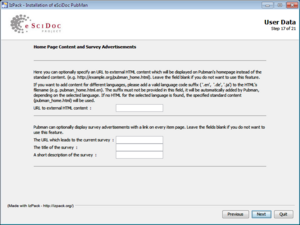
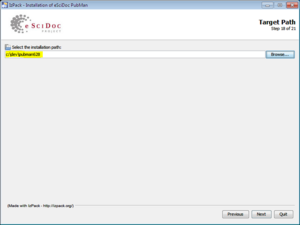
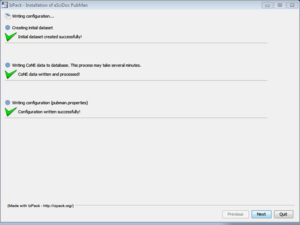
A note on the screenshots Severals of the installation steps use graphical installers of up to twenty screens. To preserve space, the screenshots are presented as thumbnails. Simply click on them to expand them back to full size. Use of yellow highlighter indicates that an important default was changed, or important information entered. Screens that simply present introductory information have not been included.
Current Documentation[edit]
Here is the at time of writing current documentation on Pubman and Escidoc standalone installation, upon which this document attempts to expand.
Pubman Download Page retrieved July 2011
which makes reference to the EsciDoc Core-Services Installation page. Regrettably at time of writing the dependencies listed on the first page are out of date.
Open: Who is going to change them?--Bourke 08:21, 19 July 2011 (CEST)
Pubman 6.2.8 has a prerequisite of ESciDoc Core-Services Release 1.2.x, not Release 1.1.3 / 1.1.4 as stated there. The software downloads listed on the page are, however, correct and up to date.
Installation of Oracle/Sun Java 6 JDK[edit]
Installation on Linux[edit]
Installation on Windows[edit]
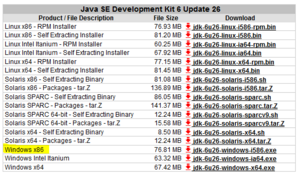
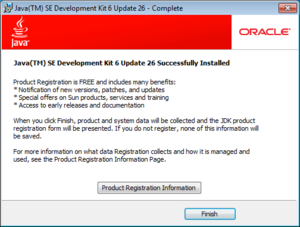
Download the latest version of the Java Developer Kit (from now on called "JDK") (alternative names, Java SE) from the Oracle Download Site and install to for example under c:\dev. Note that the download runs through twice. Once to install the JDK, once to install the Java Runtime Environment ("JRE"). Note that Escidoc Core-Services and the JBoss 4.2.x Application Server require the Java Developer Kit. A Java Runtime is not sufficient.
Here are some screenshots of this (use of highlighting indicates that default options were changed) :
Please note that the registration of the product at Oracle is not in fact necessary, it works without registration too.
Verification of JDK Installation[edit]
Open a command window / shell and verify that the following command returns a valid java version
java -version
Installation of PostgreSQL 8.3[edit]
Installation on Linux[edit]
The exact syntax varies depending on Linux Distribution. In the case of Ubuntu 10_04 (Lucid Lynx) the following installs and creates the PostgreSQL Server, clients, and graphical clients, and creates the initial database.
user@hostname:~$ sudo apt-get install postgresql pgadmin3 postgresql-contrib
The Ubuntu Community Documentation gives further configuration help. At an absolute minimum, you will need to set the database password of the postgres DB-User to a known value for the later installation steps
Installation on Windows[edit]
The "Postgres Plus" 8.3.x Download from EnterpriseDB.com contains a good graphical installer. Pubman is not yet tested with the newer Version PostgreSQL 9.0. The 8.4.x Installer at the site also works, but the subsequent installation of ESciDoc 1.2.x makes changes to database settings that fail to work with the 8.4.x default setup. So Use of the 8.3 installer is recommended.
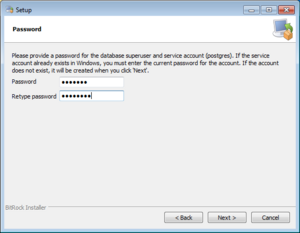
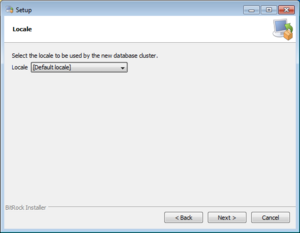
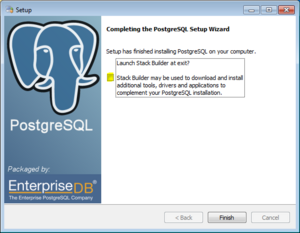
Notes on the following screenshots. Postgres uses both an OS Userid (Machinename)\postgres on windows and a DB-internal userid postgres. Confusingly, both are called "postgres". Only the OS postgres Userid can actually create the initial database. The database Postgres Userid is less needed in the default installation and can normally be ignored, but amongst other things functions as the database owner of the initial PostgreSQL Database catalog. You only get the option to set the OS-User password in the installation procedure described here, and there is no need to normally set the database-userid. Take care to remember this password, which is needed several times later in the installation.
On some Windows machines, the graphical creation of the initial postgres database under the OS-Userid will fail unless the windows service "Secondary Login" is running. If necessary, start it via Windows Control Panel / Administration / Services.
Verification of PostgreSQL Installation[edit]
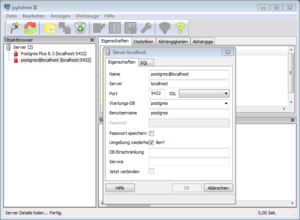
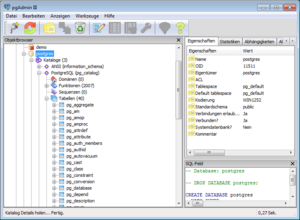
On both Windows and Linux, the graphical query and managementclient pgAdmin III is now installed. You can use this to connect via the postgres DB-User and the password you set for this. you will see a range of example and catalog databases installed
Caution: Use of SQL from PGAdmin III with the superuser account postgres to change either catalog or Escidoc or Pubman data will work, and will leave the data on the Postgresql Server in an inconsistent state, and is likely to lead to a necessity to reinstall the whole product stack or at minimum recreate the initial postgres database and reload all data from backup. Both EScidoc and Pubman are designed to maintain their own data integrity. PostgreSQL utilities like this are merely used for administrative purposes (Database backup, restore, or in this case checking that the installation worked correctly). Changing data via these utilities is a very, very bad idea.
Installation of Escidoc Core-Services 1.2.x (on either Linux or on Windows)[edit]
Once you have downloaded the graphical install for ESciDoc Core-Services it can be run by opening a command-shell (CMD.EXE for windows), changing to the download directory and running
java -jar ./escidoc-core-1.2.2-install.jar
Since its a java program, it runs identically on both windows and unix, so there is no need for platform-specific screenshots.
The installation creates a total of 5 new users - make sure to remember the passwords - and some of the questions have far-reaching implications. In particular:
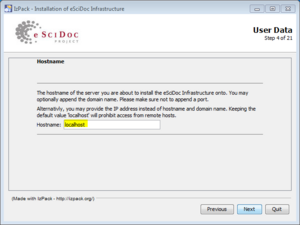
- consider carefully before changing the default answer "localhost" to question #2, "Enter Hostname". If you simply want to create a test Pubman Server that only you will use, the default is almost certainly the right choice. However, the server will then only be reachable from the local machine. If you have a need to access the server remotely then by all means change the hostname to the DNS Hostname of the machine. But the server is then reachable for other users too, is therefore less secure, and its configuration defaults are not suitable for more than single-user operation. The screenshots further on in this article assume the server is running on localhost. If you change this here, you will need to change all later occurences of the "server-URL" from http://localhost:8080 to http://yourhostname:8080
- Changing the default installation directories on the other hand is a strong recommendation. Both on Unix and on Windows the defaults have long Directory Names and in some cases embedded blanks, that can cause lots of problems in delivered scripts.
Verification of Escidoc Core-Services Installation[edit]
The steps for verification are described well in the readme.html file in the installation root directory. Essentially
- Open a Command Window / Shell Window. (For Windows, type cmd and hit return in the search box).
- Move to the ./jboss/bin directory ( .\jboss\bin for windows) und the Installation Directory. For example, if # you have installed in c:\pubman type cd \pubman\jboss\bin in the command window.
run the run.sh (linux) or run.bat (windows) file
Step 1. Verification that the JBoss Application Server starts successfully[edit]
Move to the .\jboss\bin directory (Windows) or ./jboss/bin directory (Linux) run run the run.bat / run.sh command as appropriate. The output in the windows is also logged under the ./jboss/server/default/log directory. The server has started successfully when the following message (with varying timestamp) has appeared.
14:35:14,438 INFO [Server] JBoss (MX MicroKernel) [4.2.3.GA (build: SVNTag=JBoss_4_2_3_GA date=200807181417)] Started in 1m:6s:827ms
Then log on to the server with the Escidoc Superuser (sysadmin) in a browser on the following URL
http://localhost/8080/
Step 2. Verification that that the Escidoc Datastores have initialised successfully[edit]
Verify that the database has initialised with PGAdmin III. You should see three new databases. escidoc-core (owner: escidoc); fedora3 (owner:fedoraAdmin) and riTriples(owner: fedoraAdmin)
Installation of Pubman 6.2.8 (on both Linux and Windows)[edit]
As mentioned above, the installation artefacts on the Pubman project installation page are up-to-date and valid for Release 6.2.8.
You should download both the graphical installer. The graphical installer is useful in that it gives a description of many parameters that may be configured in a PubMan installation. All these parameters are taken from the installing user by the program and added to the pubman.properties file.
Note that for a first installation, we don't recommend changing many of them. Just notice that the appearance and functionality of Pubman is highly configurable, and perhaps make a note of interesting parameters for later use.
The installation of Pubman requires a running Escidoc Core-Services, so leave the server from the previous step running. On both Windows and Linux the java installer, once downloaded, can be run with the following command from the Downloads Directory:
java -jar pubman_installer-standard.jar
When run with these settings the following actions take place
- A valid pubman.properties will be written to the Escidoc Installation Directory under ./jboss/server/default/conf
- The Pubman EAR and two license files will be written to the Escidoc Installation Directory unter ./jboss/server/default/deploy - the JBoss Software will automatically detect these and initialise PubMan correctly.
Verification of Pubman 6.2.8[edit]
(Optional) Installation of Escidoc AdminConsole[edit]
The "initial dataset load" in the previous step (PubMan) installation has created the basic skeleton of technical Metadata to allow users to work with Pubman.
There are Userids, Organisational Units, Contexts, a content model. In other words, PubMan is now ready to use.
However, if you wish to do the following tasks:
- Create an Organisational Unit for your own organisation
- Create your own Userids, or change passwords of existing Userids
- Create .... add a list of adminconsole functionality here ...
Then you will need, currently, to install the Escidoc Adminconsole separately. This is documented in this section.
If you have had quite enough installation of software for now, and want to finally learn about actually using PubMan, consider stopping at this point and proceeding to the next section "Next Steps".
As a note for the future. The Admin-Console, as described in this section, is "deprecated". This means that it will be replaced by an equivalent Admin Console that is integrated into the ESciDoc Core-Service Version 1.3
OPEN:--Bourke 10:39, 19 July 2011 (CEST)
- installation of Apache on Linux / Windows
- checking Python release levels on Linux / Windows
- Download location
- Manual configuration?
Troubleshooting the Installation[edit]
Next Steps[edit]
Some simple monitoring scripts[edit]
Open: Not yet implemented. Bourke 10:46, 19 July 2011 (CEST) Some basic sanity checks, run as OS Batch scripts (.bat/cmd / .sh )
- Is the Escidoc Process running ? (use jps from jdk)
- Is the server accepting connections? (netstat and search for Listen string? - very different syntax on linux/windows for that? Or use wget?)
- Is the EsciDoc-Core EAR deployed ? (use jboss twiddle utility)
- Is the Escidoc Admin-Console running ? (use jboss twiddle utility)
- Is the Pubman EAR deployed ? (use the twiddle utility)
(Windows only) Setup Pubman to run as a Windows Service[edit]
- Here is a link from Red Hat on Running JBoss AS4.2.x as a service.
JBoss documentation on Running as a Service under Windows
- And here is the download of JBoss Native (I have given an older download version from about the same time as JBoss AS 4.2.3 deliberately, but haven't tested this.
JBoss Native Extension for Windows Download
Using PubMan[edit]
Open: Links to Pubman Videos and the external Pubman Support Page here. @Pubman-Support: Feedback and suggestions please!
